
In the last couple of years I started being more and more obsessed by e‑paper displays. I partly blame my Kindle – by far my favourite and the best electronic device I own to date – and my love for 1‑bit graphics.
My first computer was a Macintosh SE and most of my early years in front of a monitor were spent experimenting with Hypercard: you tend to develop a certain (life-long) taste for black and white graphics.
Before summer I bought an Inky pHAT display and put it to use with a spare Raspberry Pi Zero W I had in a drawer in the office, and my old Playstation Eye camera.
The Playstation Eye works “out of the box” with the Pi: taking pictures with it is pretty straightforward. The next logical step for me was to display them as beautiful dithered black and white images on the small e‑paper display.
Disclaimer: I cannot really code! The code I produced to make this work is a fierce cut & paste job ’cause I was eager to have my “prototype”. If anything, working on the script pushed me to buy a copy of Learn Python 3 the Hard Way.
The aim of this post is to link and mention all the sources (guides, personal blogs, forum posts, and online manuals) that I have used and enabled me to create my little prototype and waste the good part of a rainy weekend.
What does it do? Why “Atkinson Machine”?
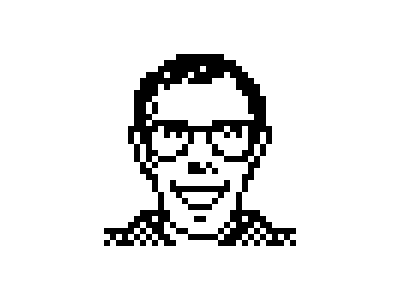
In short: it takes a picture, crops and dithers it and, last, it adds some red overlaying images (patterns mostly).
Pimoroni’s displays are capable of producing black, white and an additional colour: red in the case of mine.
The specific dithering process applied to the image is the same used in early Apple computers, and it was developed by Bill Atkinson who, later, was part of the team that gave us the Macintosh and created Hypercard.
It is safe to say that Bill created a series of (amazing) tools that in the late 80ies and early 90ies propelled me, and a lot of other like-minded people, into careers as digital designers, developers, and engineers on the early web.
“The bicycle for the mind.”
But I digress…
You can “Atkinson-dither” your own images directly online here:
https://gazs.github.io/canvas-atkinson-dither/
On my “Atkinson Machine”, instead, I’m using Mike Teczno’s Python implementation of it:
import sys, PIL.Image

img = PIL.Image.open(sys.argv[-1]).convert('L')

threshold = 128*[0] + 128*[255]

for y in range(img.size[1]):
    for x in range(img.size[0]):

        old = img.getpixel((x, y))
        new = threshold[old]
        err = (old - new) >> 3 # divide by 8

        img.putpixel((x, y), new)

        for nxy in [(x+1, y), (x+2, y), (x-1, y+1), (x, y+1), (x+1, y+1), (x, y+2)]:
            try:
                img.putpixel(nxy, img.getpixel(nxy) + err)
            except IndexError:
                pass

img.show()
See also David Lindecrantz’s nifty “1‑Bit Camera” for iPhone (sadly no longer available/supported on modern iPhones) and live processing by Windell Oskay here.
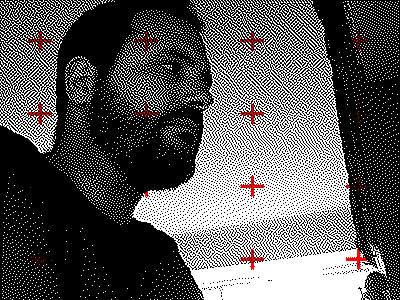
Tests and more tests
This above is one of the initial tests with the PlaystationEye, and a newer Pi 3A+.
I then replaced the pHAT display with a bigger wHAT and bought the smaller Raspberry Pi Camera to replace the USB webcam.
The only difference being the connector used and moving to the PiCamera library instead of the fswebcam command to capture images with it.
The operations are pretty straightforward, as listed before: the image is taken, cropped, converted to grayscale and then dithered using Python’s PIL and Wand.
It is then merged with the red overlays, picked randomly from and array of PNG files, and (this was a painful part) the three-colour palette has to be rearranged in the correct order, otherwise the e‑paper display will render it in the wrong colour combination or in negative.
#image is correct up to negative.png, but palette is in wrong order
#creates a reference palette and quantizes the image
 PALETTE = [
     255,   255,   255,  # white,  00
     0,   0, 0,  # black,  01
     255, 0,   0,  # red,    10
 ] + [0, ] * 252 * 3

#a palette image to use for quant
 pimage = Image.new("P", (1, 1), 0)
 pimage.putpalette(PALETTE)

#open the source image
 image = Image.open('negative.png')
 image = image.convert("RGB")

#quantize it using our palette image
 imagep = image.quantize(palette=pimage)

#save
 imagep.save('positive.png')
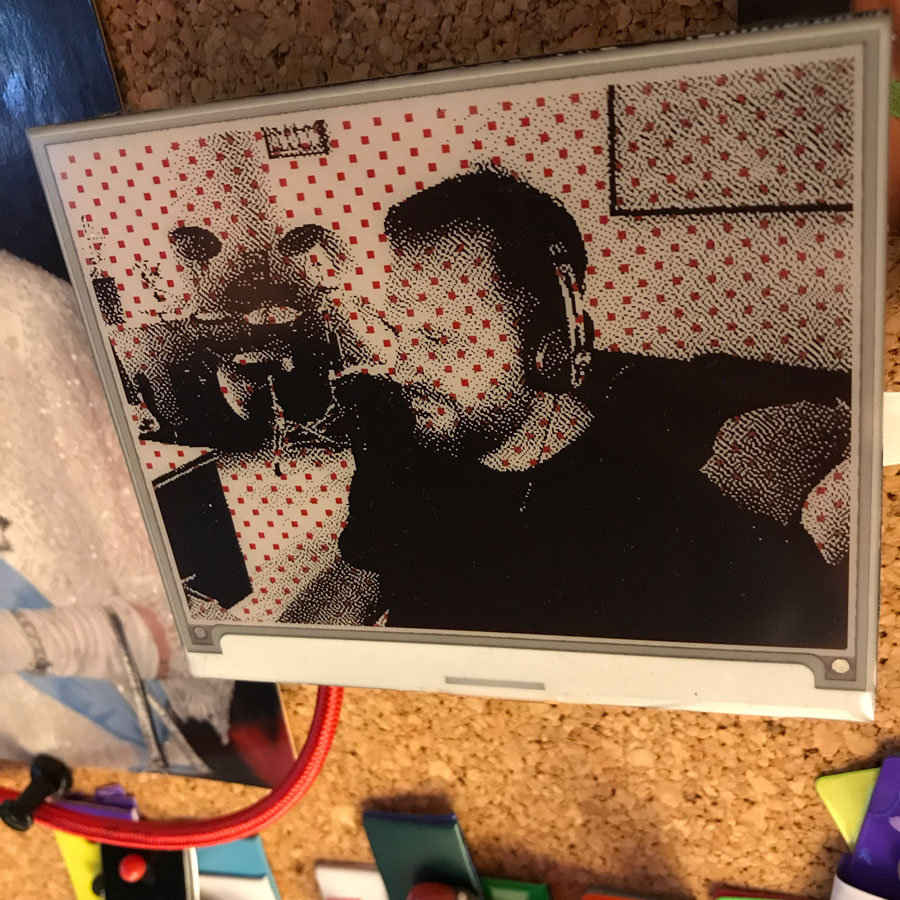
Last thing I’ve added is a “fat bits” option that makes the pixels more visible: the original picture is taken at half the size and then enlarged 200% without any interpolation (keeping hard edges, showing the pixels).
Fat bits on the left, standard right:
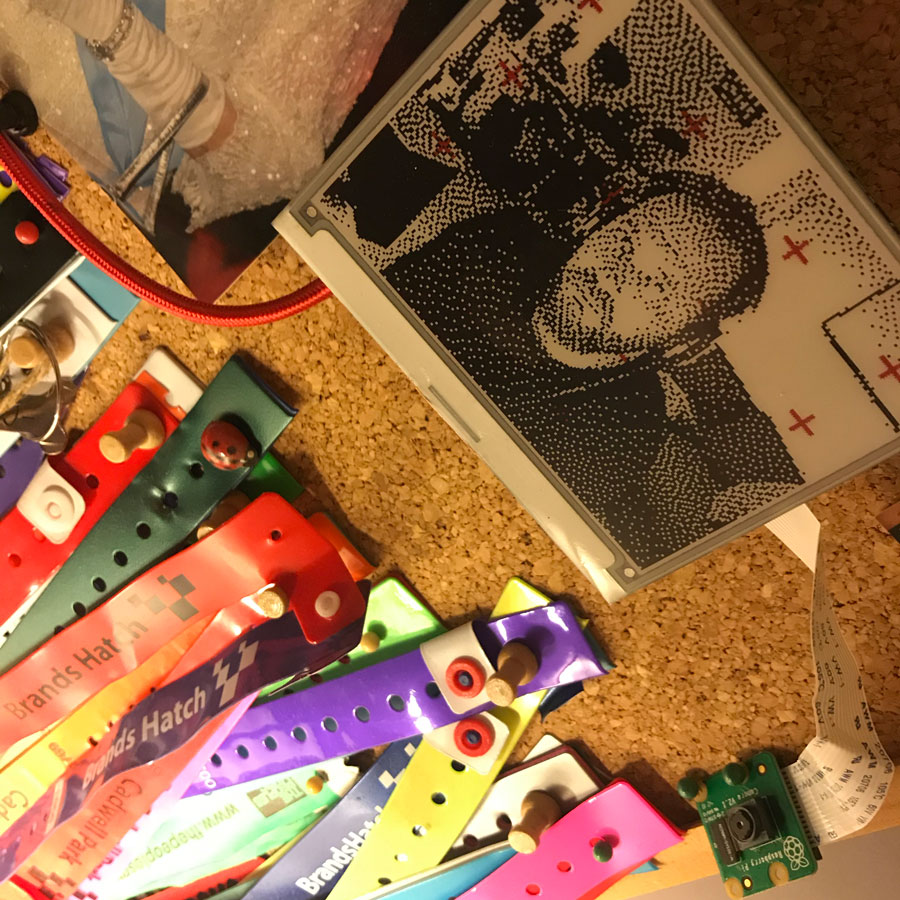
It has been running non-stop, pinned to a corkboard above my desk for the last few months, taking a new picture every four minutes.
The plan is to add a few more extra functionalities:
• Option to save the pictures, as at the moment it intentionally rewrites them;
• Option to upload the pictures to an Instagram account (will require some config screens and potentially some input devices somewhere);
• Embedding it all in an actual frame and adding a motion sensor to trigger the shutter, instead of keeping it on a four minute loop;
• Generate specific graphic overlays based on geolocation.
But I should clean my existing spaghetti code first.
Extra resources:
Increase exposure time on the Pi ‘s camera
Wand: cropping and resizing
Fixed colour palettes with PIL
PIL image blend modes
No Comments.